How do you hold technical pens securely in a pen plotter?

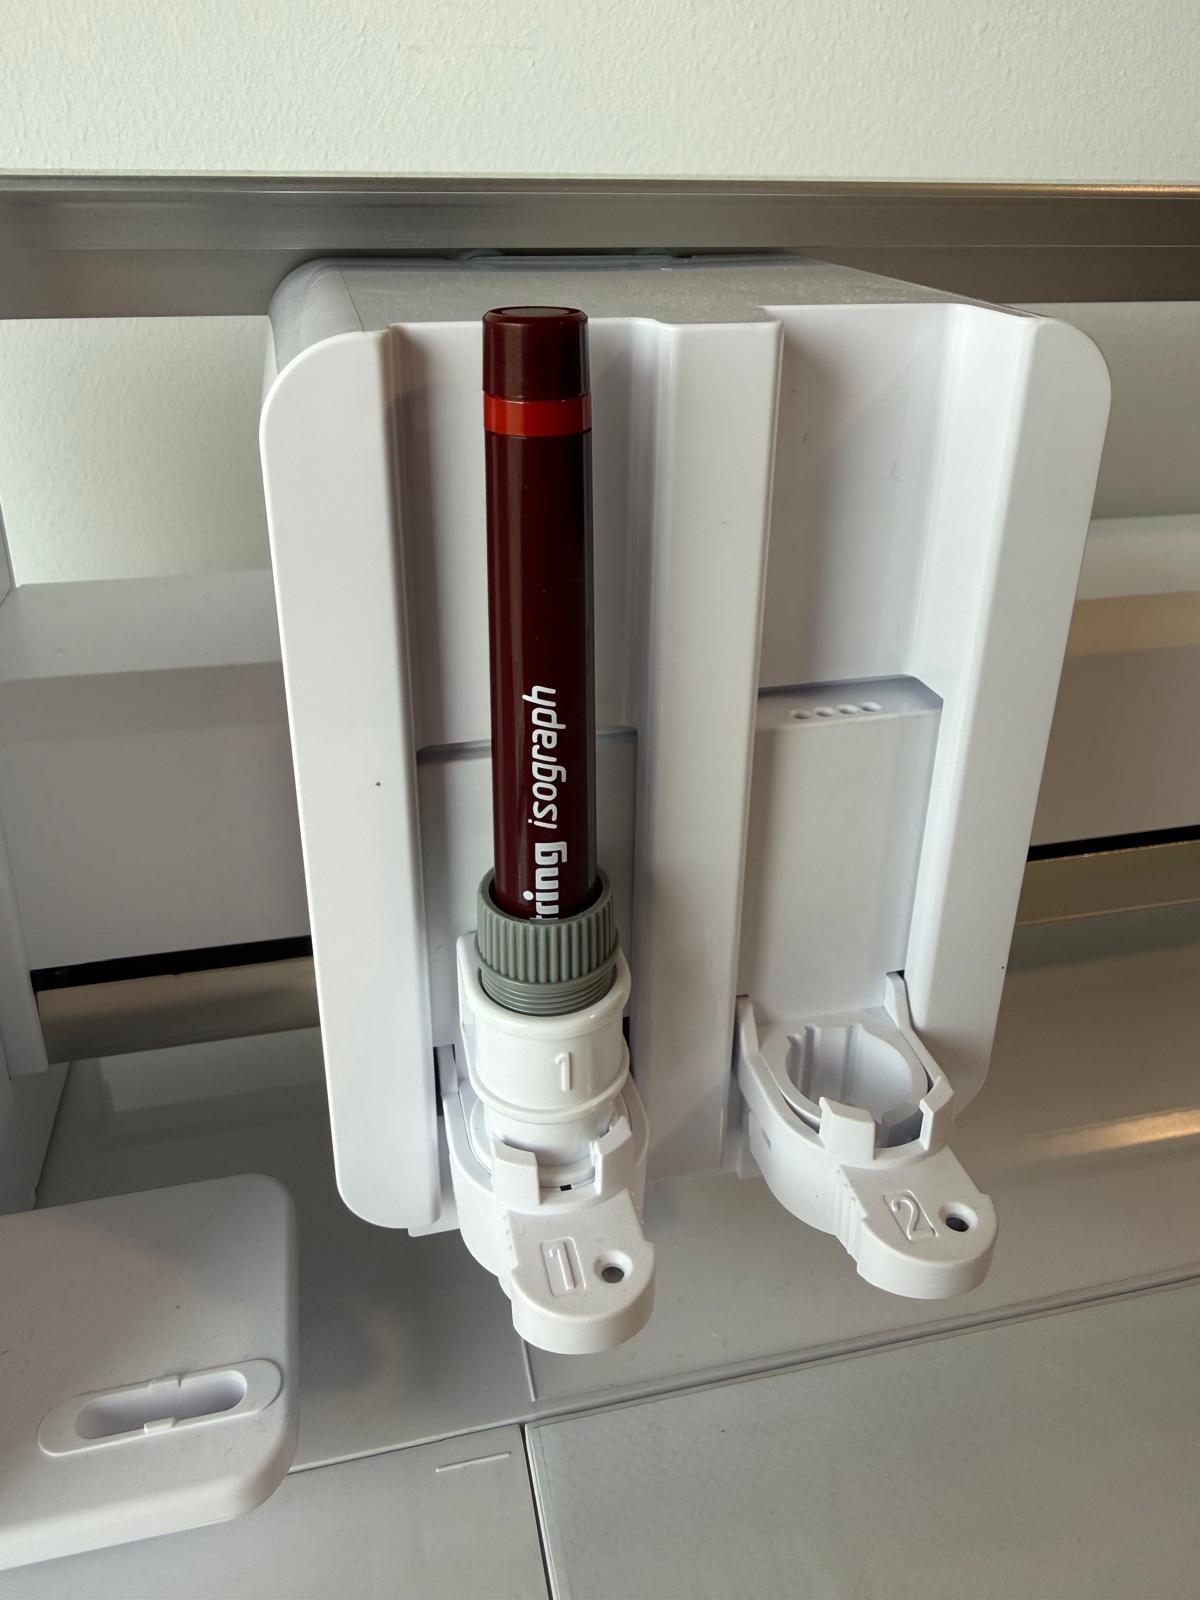
I’ve been experimenting with different technical pens on a Silhouette Curio 2, and one issue has become much more important than I expected: how securely and concentrically the pen is held.

My first tests were with Staedtler Pigment Liners in different nib sizes. They fit in the Silhouette pen holder, but not perfectly. There is a small amount of play near the lower part of the holder, which means the tip can sit slightly off-centre.

For a single drawing, that may not seem particularly serious. The problem becomes much more obvious when changing pens during the same plot.

If 0.1 mm, 0.3 mm and 0.5 mm pens do not all sit on exactly the same axis, each pen change can introduce a small positional shift. On architectural drawings with closely aligned linework, even a very small displacement becomes visible.

I started looking at a few possible solutions:

  • small rubber bushings or O-rings inside the holder;
  • a custom sleeve with the pen centred through a precisely sized hole;
  • making different inserts for different pen diameters;
  • using a more rigid technical pen whose body fits the holder more consistently.

More recently I started testing some old rOtring Isograph technical pens. My 0.20 mm, 0.40 mm and 0.80 mm pens fit the Silhouette adapter and work surprisingly well, and I’m using their old pre-filled cartridges as refillable ink reservoirs.
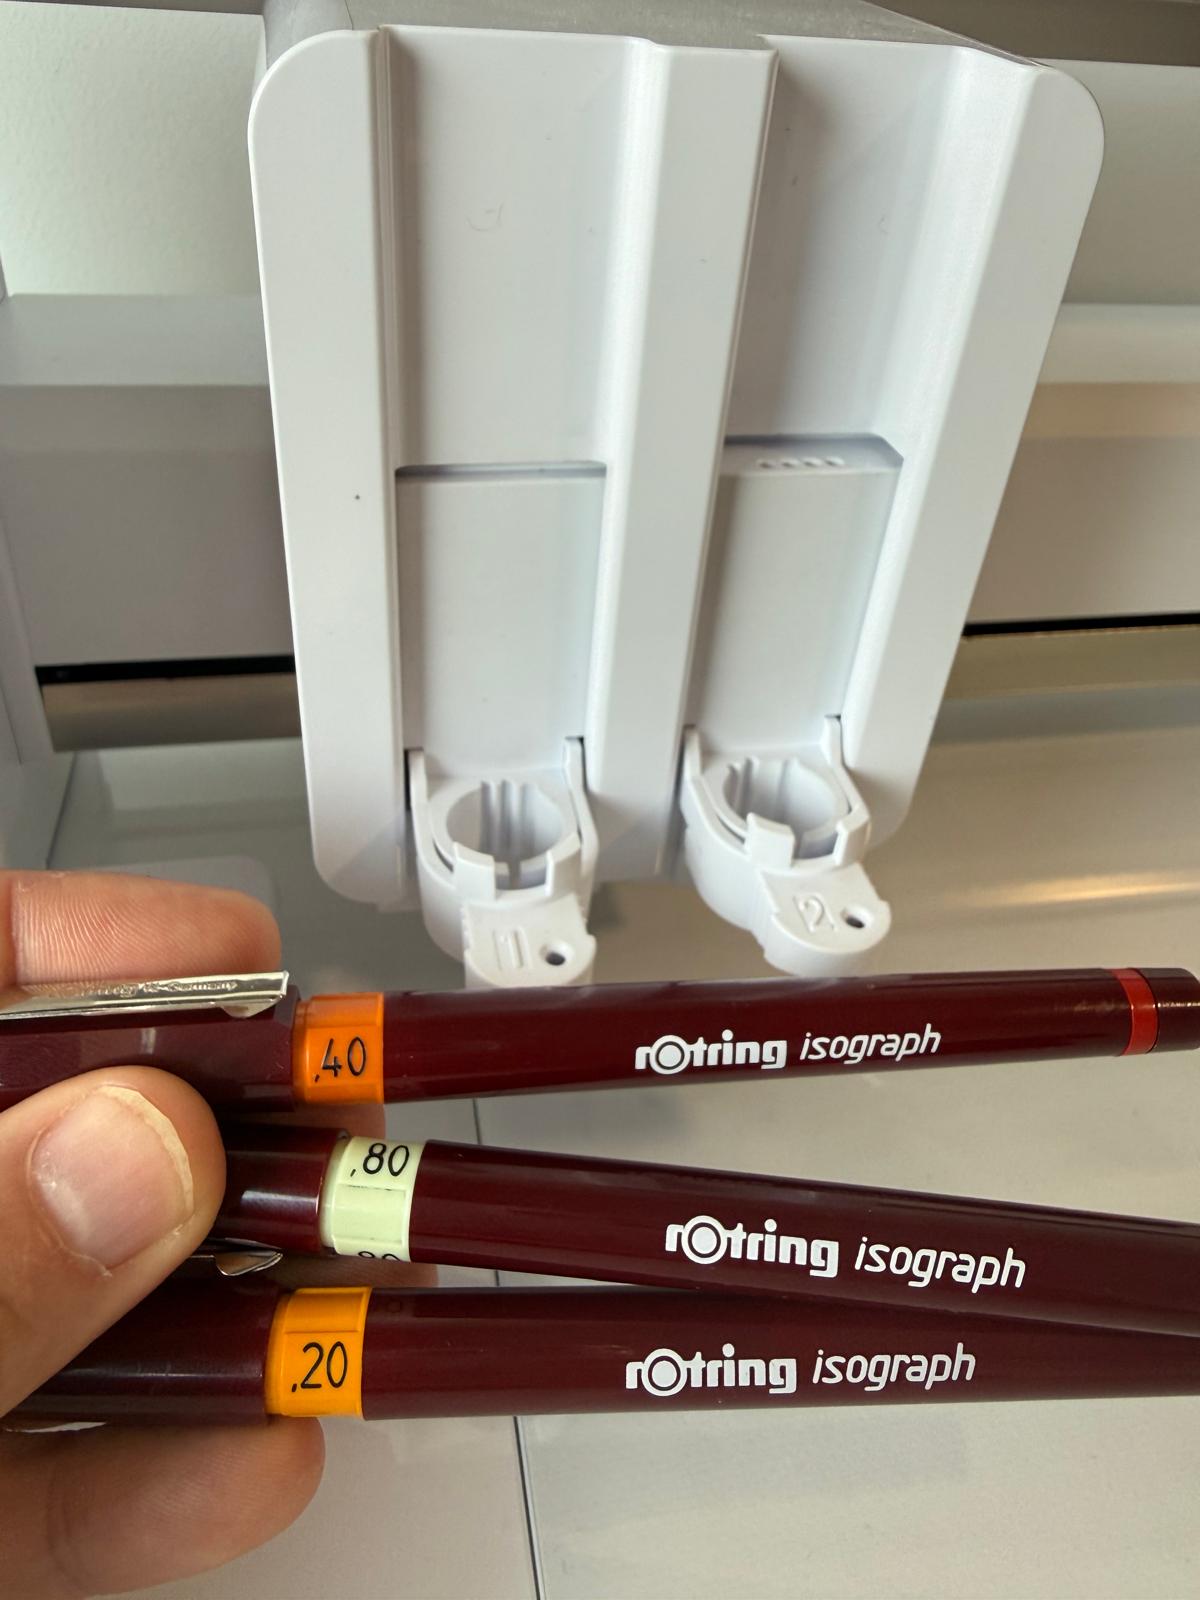
That has made me think that the pen holder itself is almost as important as the pen.

Ideally, I would want three things from any adapter:

  1. the pen axis to remain perfectly centred;
  2. the insertion depth to be repeatable every time;
  3. different pens to return to the same XY position after a tool change.
I’m curious how other people solve this.

Do you rely on the standard holder supplied with your plotter, use commercial adapters, or make your own inserts or bushings?

And if you use several pen sizes in the same drawing, how do you make sure a pen change doesn’t introduce an offset?
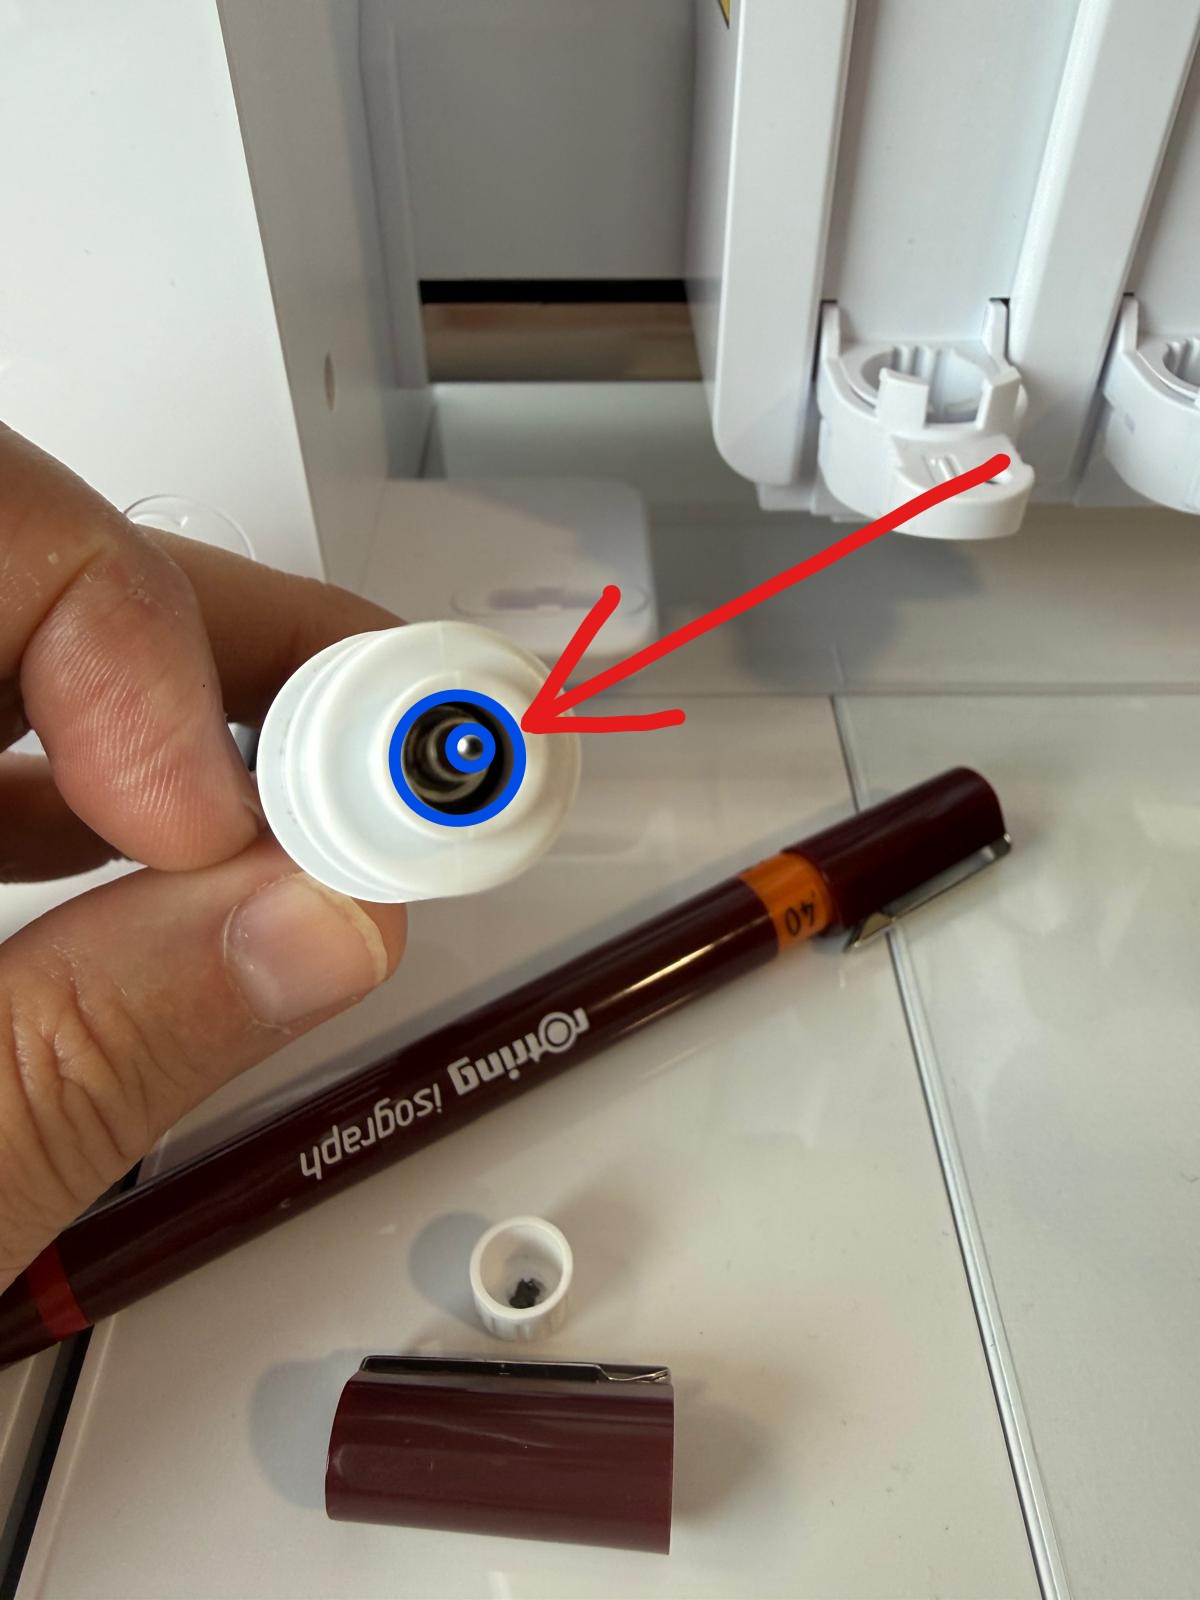
For repeatable multi-pen work, I’d prioritize a rigid radial fit plus a repeatable depth stop. An O-ring can remove play, but its compression and elasticity may allow the pen to sit at a slightly different angle or height each time.

A practical hierarchy would be:

  1. Use a shoulder or collar as the Z reference
    Each pen or insert should bottom against the same physical stop. Don’t rely on insertion by eye.

  2. Centre the body with a close-fitting insert
    Make interchangeable sleeves for the actual pen diameters. A split collet or slotted sleeve is preferable to a loose cylindrical hole because it can clamp without distorting the pen.

  3. Keep the unsupported nib length short
    Any play is amplified at the tip when the pen extends far below the holder.

  4. Reference the pen body, not the nib assembly
    Technical pens are not always perfectly concentric: the nib, threaded section, and outer barrel may each have slightly different axes. Test several samples if alignment is critical.

  5. Calibrate each pen as a tool
    Plot a small crosshair or registration grid, change pens, and plot the same feature again. Measure the X/Y displacement and repeat the test several times. If the offset is consistent, software compensation may work; if it varies between insertions, the holder needs mechanical improvement.

  6. Control Z separately
    Different nib lengths and shoulder positions can change contact pressure, line width, and ink flow even when XY alignment is good. A fixed depth stop is therefore as important as concentricity.

For the three proposed solutions:

  • O-rings/bushings: useful for removing wobble, but usually less repeatable under clamping force.
  • Precision sleeves: probably the best approach for several known pen models.
  • Rigid pens such as the rOtring bodies: convenient if their barrel and nib axis are sufficiently consistent, but each pen should still be checked individually.

I would make a test fixture that holds each pen and lets you plot a registration mark without moving the paper. Test every pen through several remove/reinsert cycles. That distinguishes holder repeatability from a pen whose nib is itself eccentric.

The search results here did not reveal an established plotterfolk solution for this exact Curio 2 setup, so these are mechanical recommendations rather than a verified community-tested design. If you arrive at a reliable insert geometry, documenting the bore diameter, stop position, and clamp method would make it particularly useful for future multi-pen Curio 2 work.